Score: 4.33 Votes: 6
rate this

My soon to be K20a2 powered EG Civic.....

Starter: Hybrid93Hatch Posted: 17 years ago Views: 3.4K
  • Goto:
#3334237
Lvl 6
Karcept's shift kit hardware:
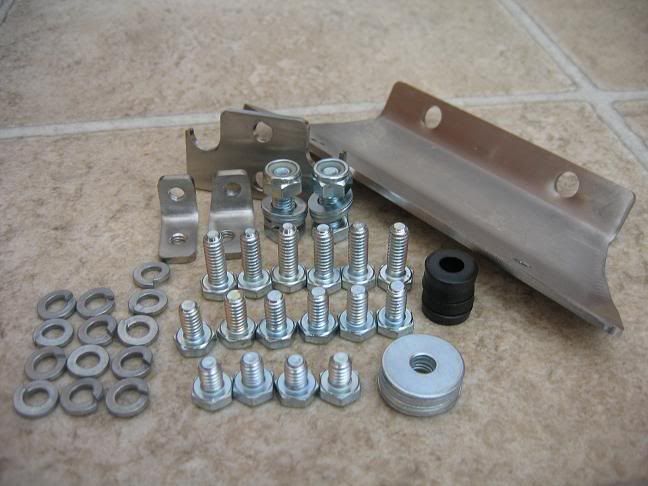


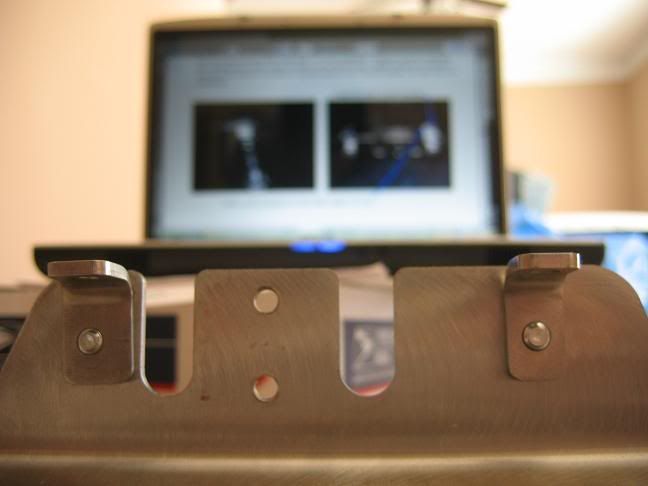
Make sure the 2 little brackets are correct:
(Note the laptop in the background / it was outside as I worked -- the instructions are about as detailed as you can get


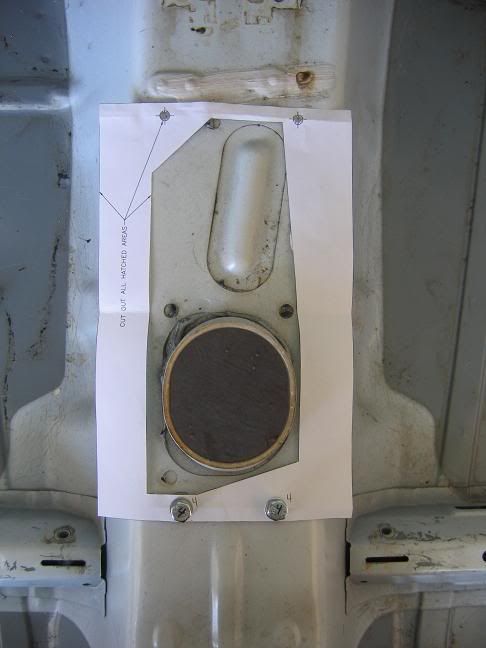
Template mounted and 2 holes marked for drilling:


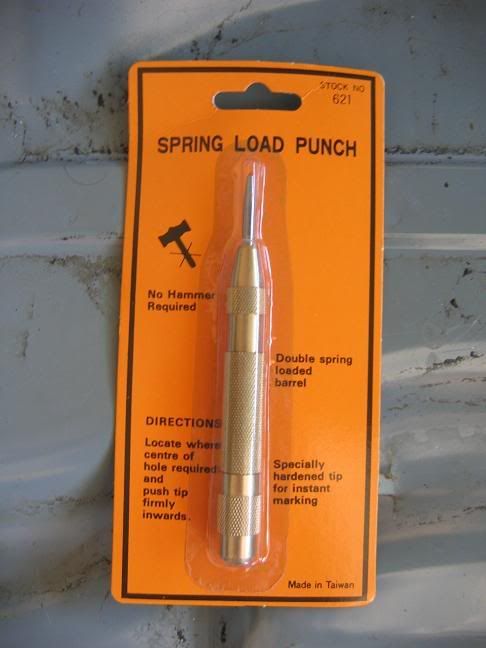
Pop's gave this to me as a X-mas gift as well as a few other Harbor Freight goodies. Awesome punch:


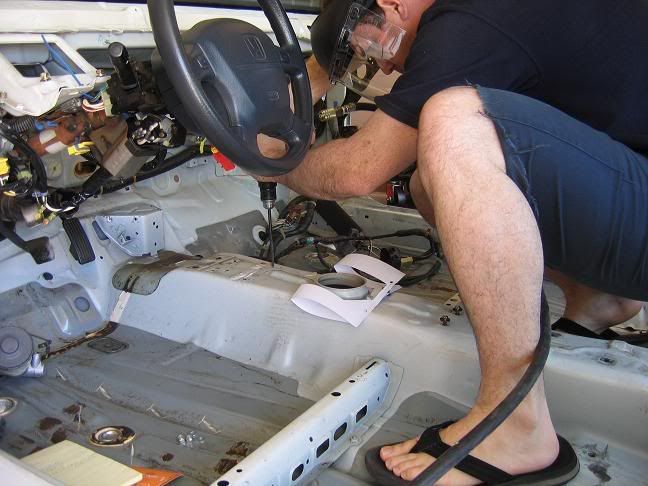
Drilling the holes:


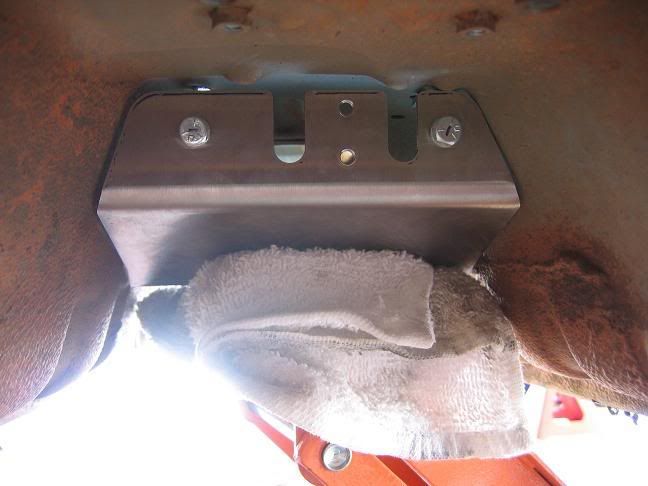
The rear mount bracket was a little wide as you can see in the pic:
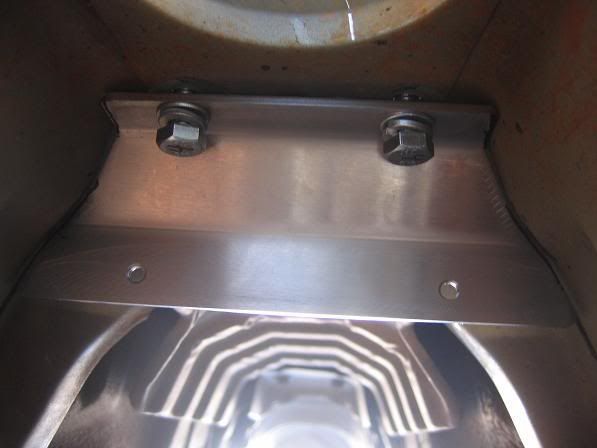


I marked what needed to be trimmed off:
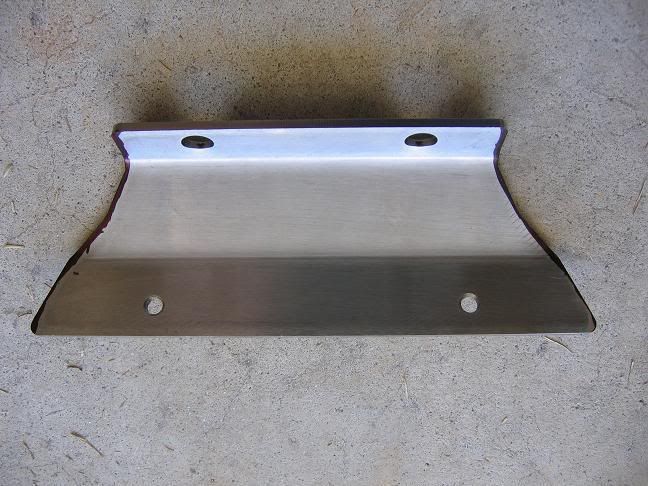


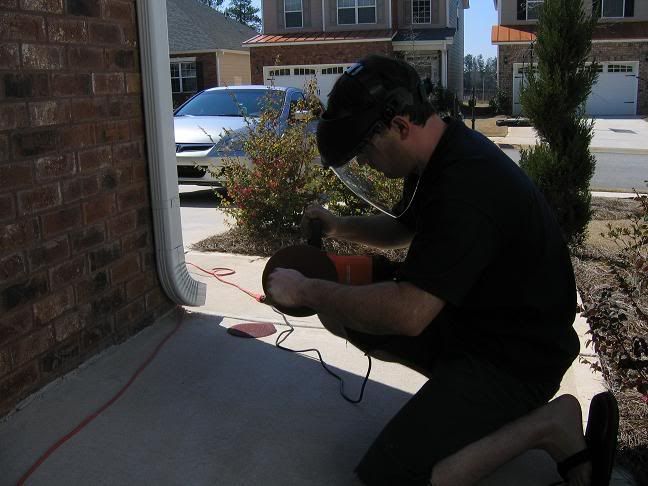
And started trimming with my Harbor Freight polisher/sander (hopefully the neighbors didn't see the camera/tripod when I was taking work in progress pics


Much better fit:
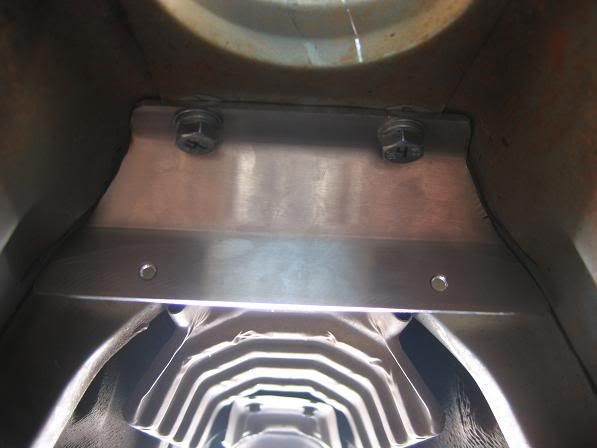


Not sure if I need to trim some off the right side so the left side will sit flush. I am waiting on a response from Karcepts, which so far has been extremely helpful


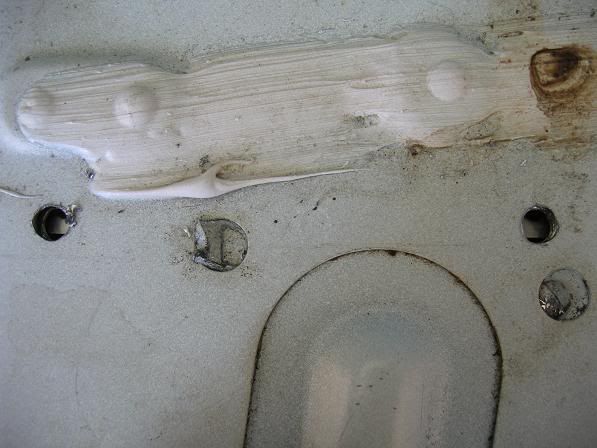
Heading up to Wal-Mart in a few to get something to slot the holes out:
#3334238
Lvl 6
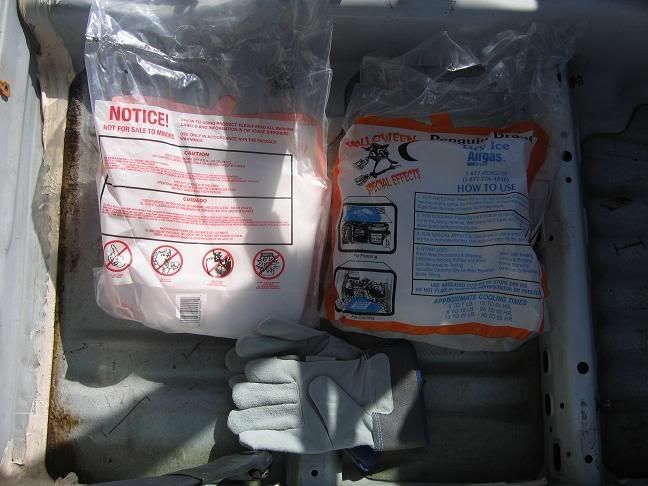
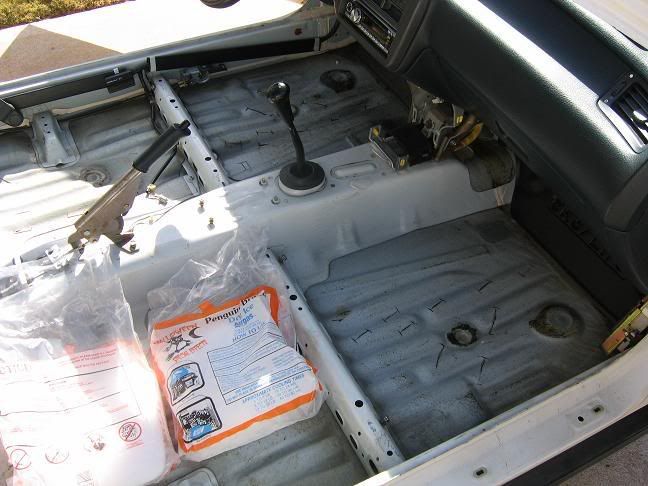
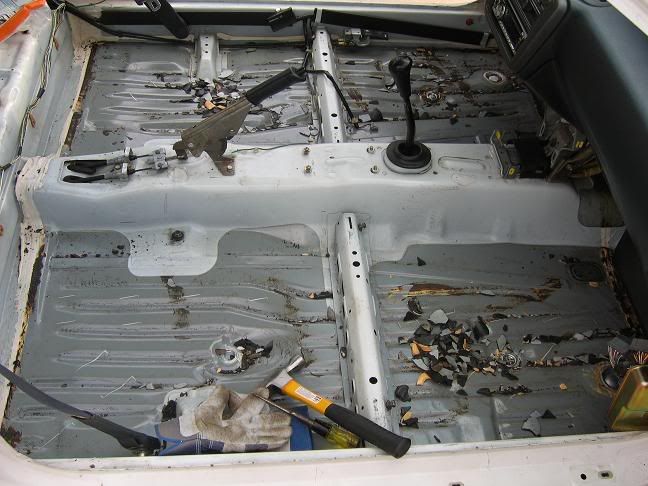
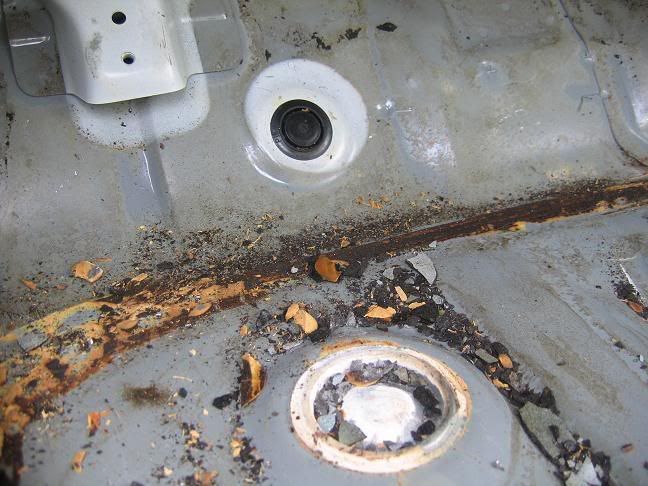
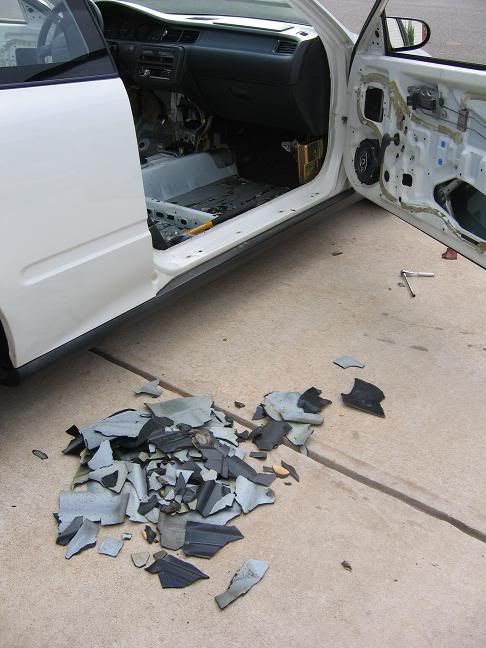
Here is some pics when I removed the sound deadning material back in November 2006:


Is it ok to remove the brown glue or is that a sealer? Should I just clean it up really well, hit it with some sand paper lightly, and paint over it?? (Pic below)


Pass side removed:


Turned out to be like 9-11 pounds.
#3334239
Lvl 6


Reminder that I need to really clean this car up:


4 bolts / 1 cotter pin to remove the brake booster:


Then I remembered I should start draining the gas from the tank while it's early. So I just loosened the drain plug just enough to get a stream going:


Removing the clutch slave cylinder.
2 bolts / 1 cotter pin to remove the assembly:


Brake booster / clutch cylinder removed:
Paint is blingin' underneath:


Undercarriage is reall nasty. Goal is to clean it up really well and apply some type of overcoat.

Dropping the gas tank:

Remove the banjo bolt and disconnect the hose:


After I drained the tank I placed a jack in the center and dropped the 2 straps that secure the tank:


Then I removed the 3 plastic covers that protect the fuel system / fill up neck:
(one of the 3)


I loosened this bolt to disconnect the filler neck from the tank:


Panels removed and filler neck exposed:


Further up the filler neck:


Remove the (4) 10mm bolts to release the filler neck. Pull the grommet out and the neck drops down with the tank:


Bottom of the tank:


Really nasty, but that will change:


Steering rack removal:

Remove tie rod ends:
(mine are screwed and will be replaced w/ new ones)


4 bolts secure the rack to the crossmember:


Here are the bolts removed:


Remove the cotter pin and slide the bolt out and remove steering rack:


Crossmember removal:

5 bolts on each side to remove:
(All 5 are shown in the pic below)


Big a$$ bolts that hold the crossmember:


Remove the (2) 14mm suspension bolts as well as the (2) 17mm upper control arm bolts and the crossmember is ready to be removed:


There are quite a few 10mm bolts that hold the brake/fuel line assembly that runs to the rear of the vehicle:


Just pulled the plastic clip off the stud to release the lines:


Rear brake/fuel lines removed:


Charcoal canister exit release:


Underview:


Then I removed all the grommets from the bay. Must of been 12:


And it's time for a good cleaning / prepping for paint in the bay:


Cleaned the fenderwells a while back. I am going to put some overcoat all in there:

#3334240
Lvl 6


This is what will happen to anyone I catch trying to mess with my $hit:
This fool wouldn't let me be, so I put him on his back, lol!!!


Worked mostly with the rear of the vehicle. Pretty much finished removing the rear wiring, hatch glass, hatch door, tail lights, bumper, etc.....

First thing I did was removed my JDMSh!t duckbill.

To remove the hatch glass just remove the (4) 10mm nuts:


Up close of one side:


Then it was time to remove the tail lights:

(4) 8mm bolts per light:


Underneath still clean from April 2006 detailing. Damn right:


Inner tail(s) has 4 bolts as well:


These clips are for the panels that will never make it back to my car. They were a major PITA to remove. I never did figure out how to remove them with ease. I just squeezed and pulled with 2 sets of pliers:


Then I removed the hatch release:


Removed the latch and release lever:


I pulled and pulled on the damn tail gate harness and then realized why it would not come out. Damn license plate lights:


Remove the bolts shown to remove the tail gate from the car:


Disconnecting the fuel door release wire:


Pop the little ring off:


Took me a while to figure out how to remove the black lever. It's really simple once you know what to do. Simply go inside the hatch area to the lever, grab ahold and twist to the left and it will come right out like so:


Might as well remove the door:


Removing the last line:


Entire rear wiring harness wrapped up and ready for install one day in the future:


What the hell is the plastic cup thing for?? Hatch leakage??


My Lowes rear bumper hardware:


Screw that holds the Vx drivers side wind difuser in place:


Hatch removed, and then I removed the 2 bolts to remove the latches:


Removed the 4 grommets that are around the rear bumper:


Side skirt clip:


Rotate to remove:


I need some advice on how to remove this piece. It's the metal piece that sits in the middle of the car which allows the back seat to fold up and down. I will not ever have a back seat again, so I would like to remove this piece:


spot welds?:


A better view of the piece:


I can't go all out with new interior and engine bay paint and leave the crossmember as is. So I decided to go to work on it:


Remove the one bolt and basically it's dismantled:


Further back view of the bolt:


Dismantled for cleaning:


Left = Clean!
Right = Not!


Neighbors got to love seeing this all the time, lol:


Then I was like how the hell am I going to move the hatch now without anything up front. Answer:


Interior ready to start prepping for paint (as soon as I remove the rubber hatch seal):


Another view:

#3334241
Lvl 6
March 29, 2006


It was nasty:


Put the water and soap to work:


....the outcome:


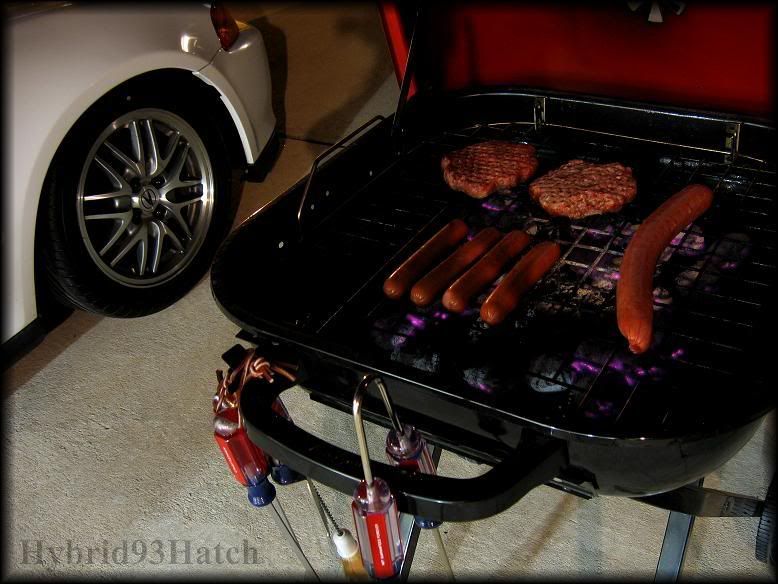
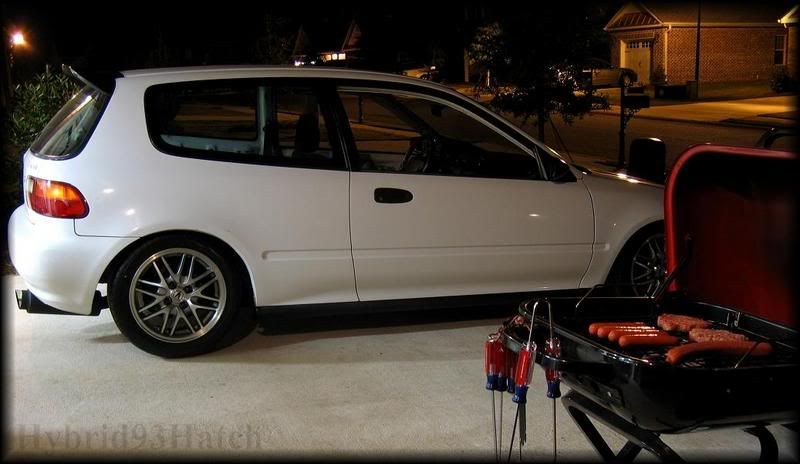
....and 2 of my favorite things:

Hatch & food :thumbup: :thumbup:

October 10, 2006


I hope to get some work done in the next few days. At least want to get the engine mount and seat bracket removed
#3334242
Lvl 6
Session 019:

Figured I'd go ahead and get some practice with spot welds before trying to remove the tranny mount


Did I ever tell you guys how I love Harbor Freight?? This pry bar pop's got me for X-mas was a life saver today:


Removed:


Practice session #2:


2 spot welds. This one is cake:


Then I figured it was time to work on the Karcepts shifter kit.
I put the shift plate back in place to make sure the markings to slot the holes were accurate. Then I found my stash of rotary files. This one would be perfect:


Slotted:


Template in place to mark cutout:


Cutout marked:


Here's what I'll be using:
(Got to love HF )


Then after condensation coming out of my drill gun I figured it was time to install the water / oil filter on the compressor:


The local auto store would not take my gasoline I drained from the gas tank so I have been burning it in a barrel which I use to burn my spam papers from snail mail. I had the bottle to close to the barrel and the damn thing caught on fire (this jug is gas and oil). I thought for sure the house was going to burn down because the oil spilled onto the ground and there was a big fire. When I came back with the water hose which I had to get out of the garage, take to the faucet, hook up, and drag across the yard, the fire was out God was looking after me today


Seem like it was going to take forever with the 3" cutter:


But once you get through the metal just slice it down the seam:


Remember kids, safety first (whine) :


And after about 30 minutes (fumes would get bad after a minute so I would have to get out) on the same blade:


Out:


Next! ...and this thing was a b!tch!!


Got to get that last piece of sound deadening material. No problem, HF pry bar FTW:


After drilling and drilling:


About a pound out:


2nd one I've found at the house. Not good


Removed the rubber hatch seal. Just pulls right up as I was told:


Glue holds the corners in:


12 years of dirt:


What came out of my compressor when I drained it

#3334243
Lvl 6


This is what came out after a few minutes of water pressure:


Session 018:

Under carriage cleaning, $hit is nasty:


Sittin' high:


Here's what I am working with:


This is going to be good:


Sweeeeeeeeeeeeeeeeet:


Can empty / One side done:


Yeah, it's clean from all angles


Time to hit Wal-Mart from some supplies This is what $40 gets you these days:


Clean:


#3334244
Lvl 6
Just picked up $130 worth of supplies. God I love this store even though I drove 50 miles to get there


#3334245
Lvl 6
Session 019:

Removing the gas and brake pedal assembly.

Everything you remove to get the assembly out of the vehicle is 12mm. This is assuming you have the brake booster and clutch slave cylinder removed already.


Remove the 12mm nut:


Closer look at the nut:


Disconect the throttle cable, but how??


Ahhhhh, just pinch the 2 clips and it pops out:


Cotter pin that will need to be removed once the assembly is out:
(Good luck removing it while the assembly is still mounted)


Remove that 12mm bolt and the assembly is ready to come out:
(LAMFExtFTW)


One of the harness you'll need to disconnect:


Assembly out:


Time to work on the clutch assembly:


Remove the bolt using your LAMFExt:


2 harnesses / 12mm bolt to remove:


and the assembly comes out once you disconnect the 2 harnesses:


Gas pedal:


Bump stop on the gas pedal. Pic so I can reinstall it close to the original setting:


Throttle cable clip ($hit's nasty):


Pull it outward with some pliers:


Pry the rubber protectors out with a flathead screwdriver:


2 switches that engage and disengage the clutch?? First time seeing this stuff so I
really don't know. Plus I'm a noob to the technical side of cars


The assembly cleaned up, ready to be prepped for paint:


Speaker wire I need to replace:
Should I delete the entire rubber piece that the wires run through seen in the pic? Nevermind. Now that I look and think..... that is needed between the door and body of car. I will just clean it up really good.

#3334246
Lvl 6
Session 020:
(This has been one of the worst sessions)

Rear under carriage cleaning =( :thumbdown:

I knew the back was nasty as well, but had no idea it would be such a PITA to clean.

Got to love the wheel dollies. Moving the hatch around with nothing up front. Flipped her around in the garage to work on the a$$ end. Yeah, each time I jack the front end up now I have to lift the front end to slide the jack underneath. Yeah, I'm that strong


See why this $hit is so nasty:


I cleaned the back end for about 2 years taking small breaks in between. This is the result:


Still have some more cleaning to do as well. I'm going to pull the entire rear suspension off for cleaning and undercoat everything including the wheel wells :thumbup:

Got tired of cleaning the rear so I decided to switch things up a bit and clean the bay.
My brother recommended AJAX, so that is what I used:


Get it on there nice and good:


How do I remove this clip? It's located in the corner below the brake booster:


Then I was curious about the stains in the engine bay and decided to test a spot by sanding it down after cleaning:


Then I went to work with my razor blade removing the residue from the cowl opening below the windshield:

#3334247
Lvl 7
This thread just keeps getting better and better
#3334248
Lvl 6
Session 021.

Not to much done, but took care of more cleaning. My buddy was over at the house so not much work:

Dirty front under splash and gas tank / filler neck plastic panels:


No need to buy new ones:


Set her up for some engine bay sanding:

(xenon lights FTW again )


Passenger side sanded down /drivers not:


This pic is untouched, so dirty and nasty. Yet so appealing to me:


I need to know if am I removing gunk, oil, crap or is that OEM coating that I am removing from the gas tank below:


#3334249
Lvl 6
Quote:
Originally posted by Suomilainen

This thread just keeps getting better and better


Thanks man ...and this only half posted. Tons more coming.....

Here we go, Session 022:

Time for some drilling:


Eyeing the spots for the kill:


Took the measurement:


First kill:
(Got to figure out how to clean that up)


Not bad definitely can clean that up:


Tranny bracket removal:


First spot weld loose:


Side view:


Get the pry bar in there and drill some more:


Getting there:


Many down, one to go:


Just wiggled the mount and off she came:


Have to fill that in and sand the rest down and fill in:


I achieved my goal. No drill holes from removing the mount:


Tools used:


Result:


Welds from the radiator bracket:


2 radiator brackets side by side:


More spot welds:


On to some interior stripping:

One of the most useful tools so far in my build:


Left done / right not:


Closer look:


For the guy who has been asking about the excess sealer. Decided to take some off:


Not so much now:


Drivers side BEFORE:


Passenger side AFTER:


Then I just started trying out things with the wheel, lol:


I need to sand some of that done so I can remove the hood arms:


It's pretty bad:


wire wheel the glue door:


NICE!!!!


[/QUOTE
#3334250
Lvl 6


Session 023:

I removed the rear driver wheel and went straight to the camber bolt problem. Surprisingly it loosened up with no problem using the BAMFBB


Then I started removing the other 5 bolts that attach each rear corner to the car:

14mm toe adjustment bolt:


Toe bolt on the left and 17mm mid trailer arm bolt on the right. The other 17mm bolt is on the opposite side of the trailing arm:


There are a few 10mm bolts that hold the ebrake cables in place. You can see 2 of them in the pic below:


Blurrry pic of the 14mm bolt you'll need to remove on the inner part of the Lower Control Arm (LCA):


Don't forget to remove the brake line clip. Just grip one side with pliers and wiggle it back towards the outside of the car:


This is all that holds the rear corner in place:


Is this supposed to be crooked like that:
(I'm assuming so. But, since I did not own this car for the first 11 years of its life I have to ask)


DumpeD:


Looks so pitiful


So, I don't forget what bolts went where:


Removed the LCA, camber arm, and toe arm (I don't know their official names):


#3334251
Lvl 6


Session 023:

I removed the rear driver wheel and went straight to the camber bolt problem. Surprisingly it loosened up with no problem using the BAMFBB


Then I started removing the other 5 bolts that attach each rear corner to the car:

14mm toe adjustment bolt:


Toe bolt on the left and 17mm mid trailer arm bolt on the right. The other 17mm bolt is on the opposite side of the trailing arm:


There are a few 10mm bolts that hold the ebrake cables in place. You can see 2 of them in the pic below:


Blurrry pic of the 14mm bolt you'll need to remove on the inner part of the Lower Control Arm (LCA):


Don't forget to remove the brake line clip. Just grip one side with pliers and wiggle it back towards the outside of the car:


This is all that holds the rear corner in place:


Is this supposed to be crooked like that:
(I'm assuming so. But, since I did not own this car for the first 11 years of its life I have to ask)


DumpeD:


Looks so pitiful


So, I don't forget what bolts went where:


Removed the LCA, camber arm, and toe arm (I don't know their official names):


#3334252
Lvl 6
Filler that will be used:


The paint:


I'll be back with more at a later time
#3334253
Lvl 14
holy crap i just spent an hour looking at this. im very impressed better quality work seems to be going into this car then most shops! I wish i was as organized!
also for the spot welds id pick up a spot weld removing bit, I use them atleast once a day drills them out in a matter of seconds


cant wait to see more progress
#3334254
Lvl 11
great thread and great detail.

reminds me of what i did with the 84 rx7 i have.
#3334255
Lvl 7
lovely job, great knowledge, congratulations mate
#3334256
the "muck" on the gas tank is a protective layer i recommend not to waste your time and craftmansship on it
love to see you do the job in so much detail, it reminds me of the work i did on my mate's "64 imperial crown"
  • Goto: